 Archimatix gives a some control over the the smoothing or hard-edge faceting of edges in the meshes it generates. In this short tutorial, we will show how to specify that an object should have hard edges. We will also see how to control the hardness separately in the U and V directions.
The simplest curved object which has smooth edges by default is a Cylinder. Let’s get started with one!
Step 1
Open the Node Graph Editor and on the left side bar, click on the Cylinder to instantiate it from the Library.
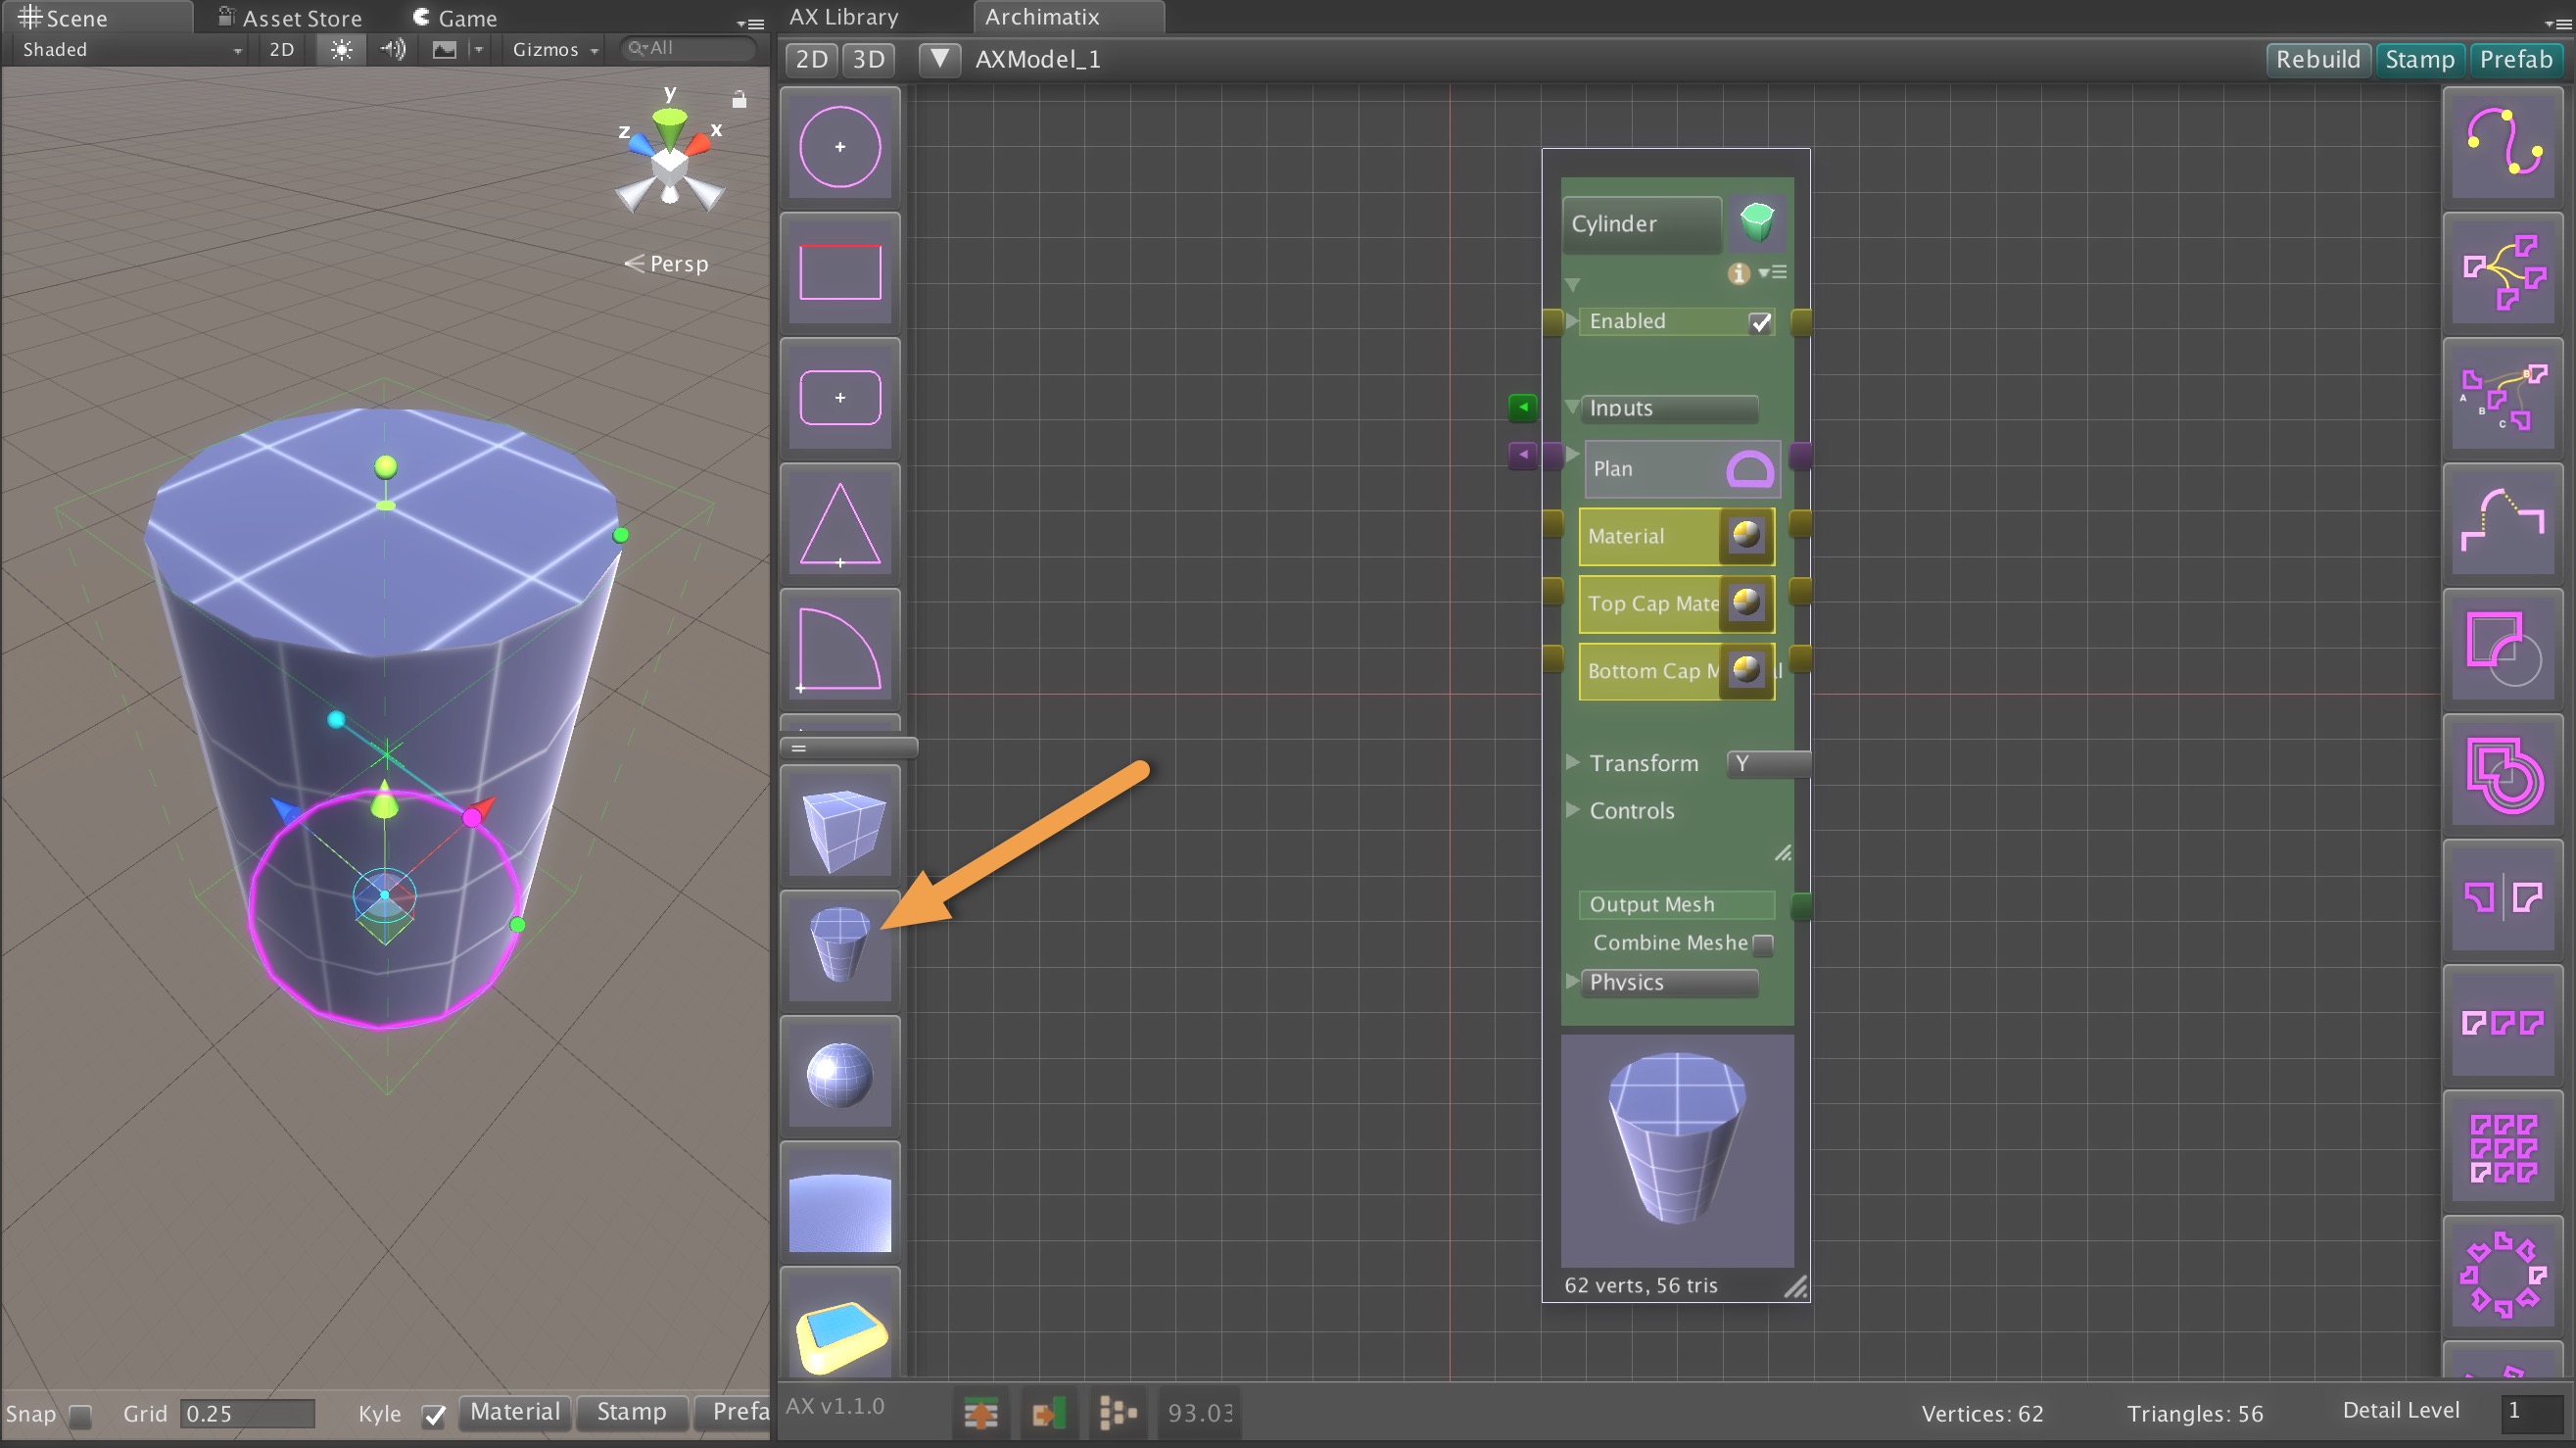
You’ll notice that the sides of the Cylinder are smooth while the top and bottom edges are hard. This is because, since the source plan is a Circle with 16 segments, the default angle between the side polygons is 22.5º, below the default break angle for smoothing of 60º. The angle of the side polygons with the top cap is 90º, so that is a hard edge.
Let’s alter what the break angle should be.
Step 2
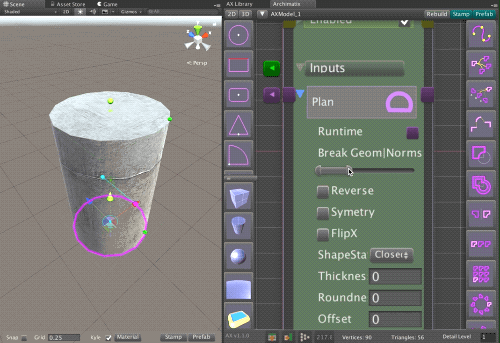
Open the Plan input parameter to reveal the controls you have over how this node would like to use the Plan. These controls do not affect the source shape, but rather make changes to the shape just before using it.
For example, you can reverse the Shape, flip it, give it an offset, thicken it. We are going to adjust its break angles.
Step 3
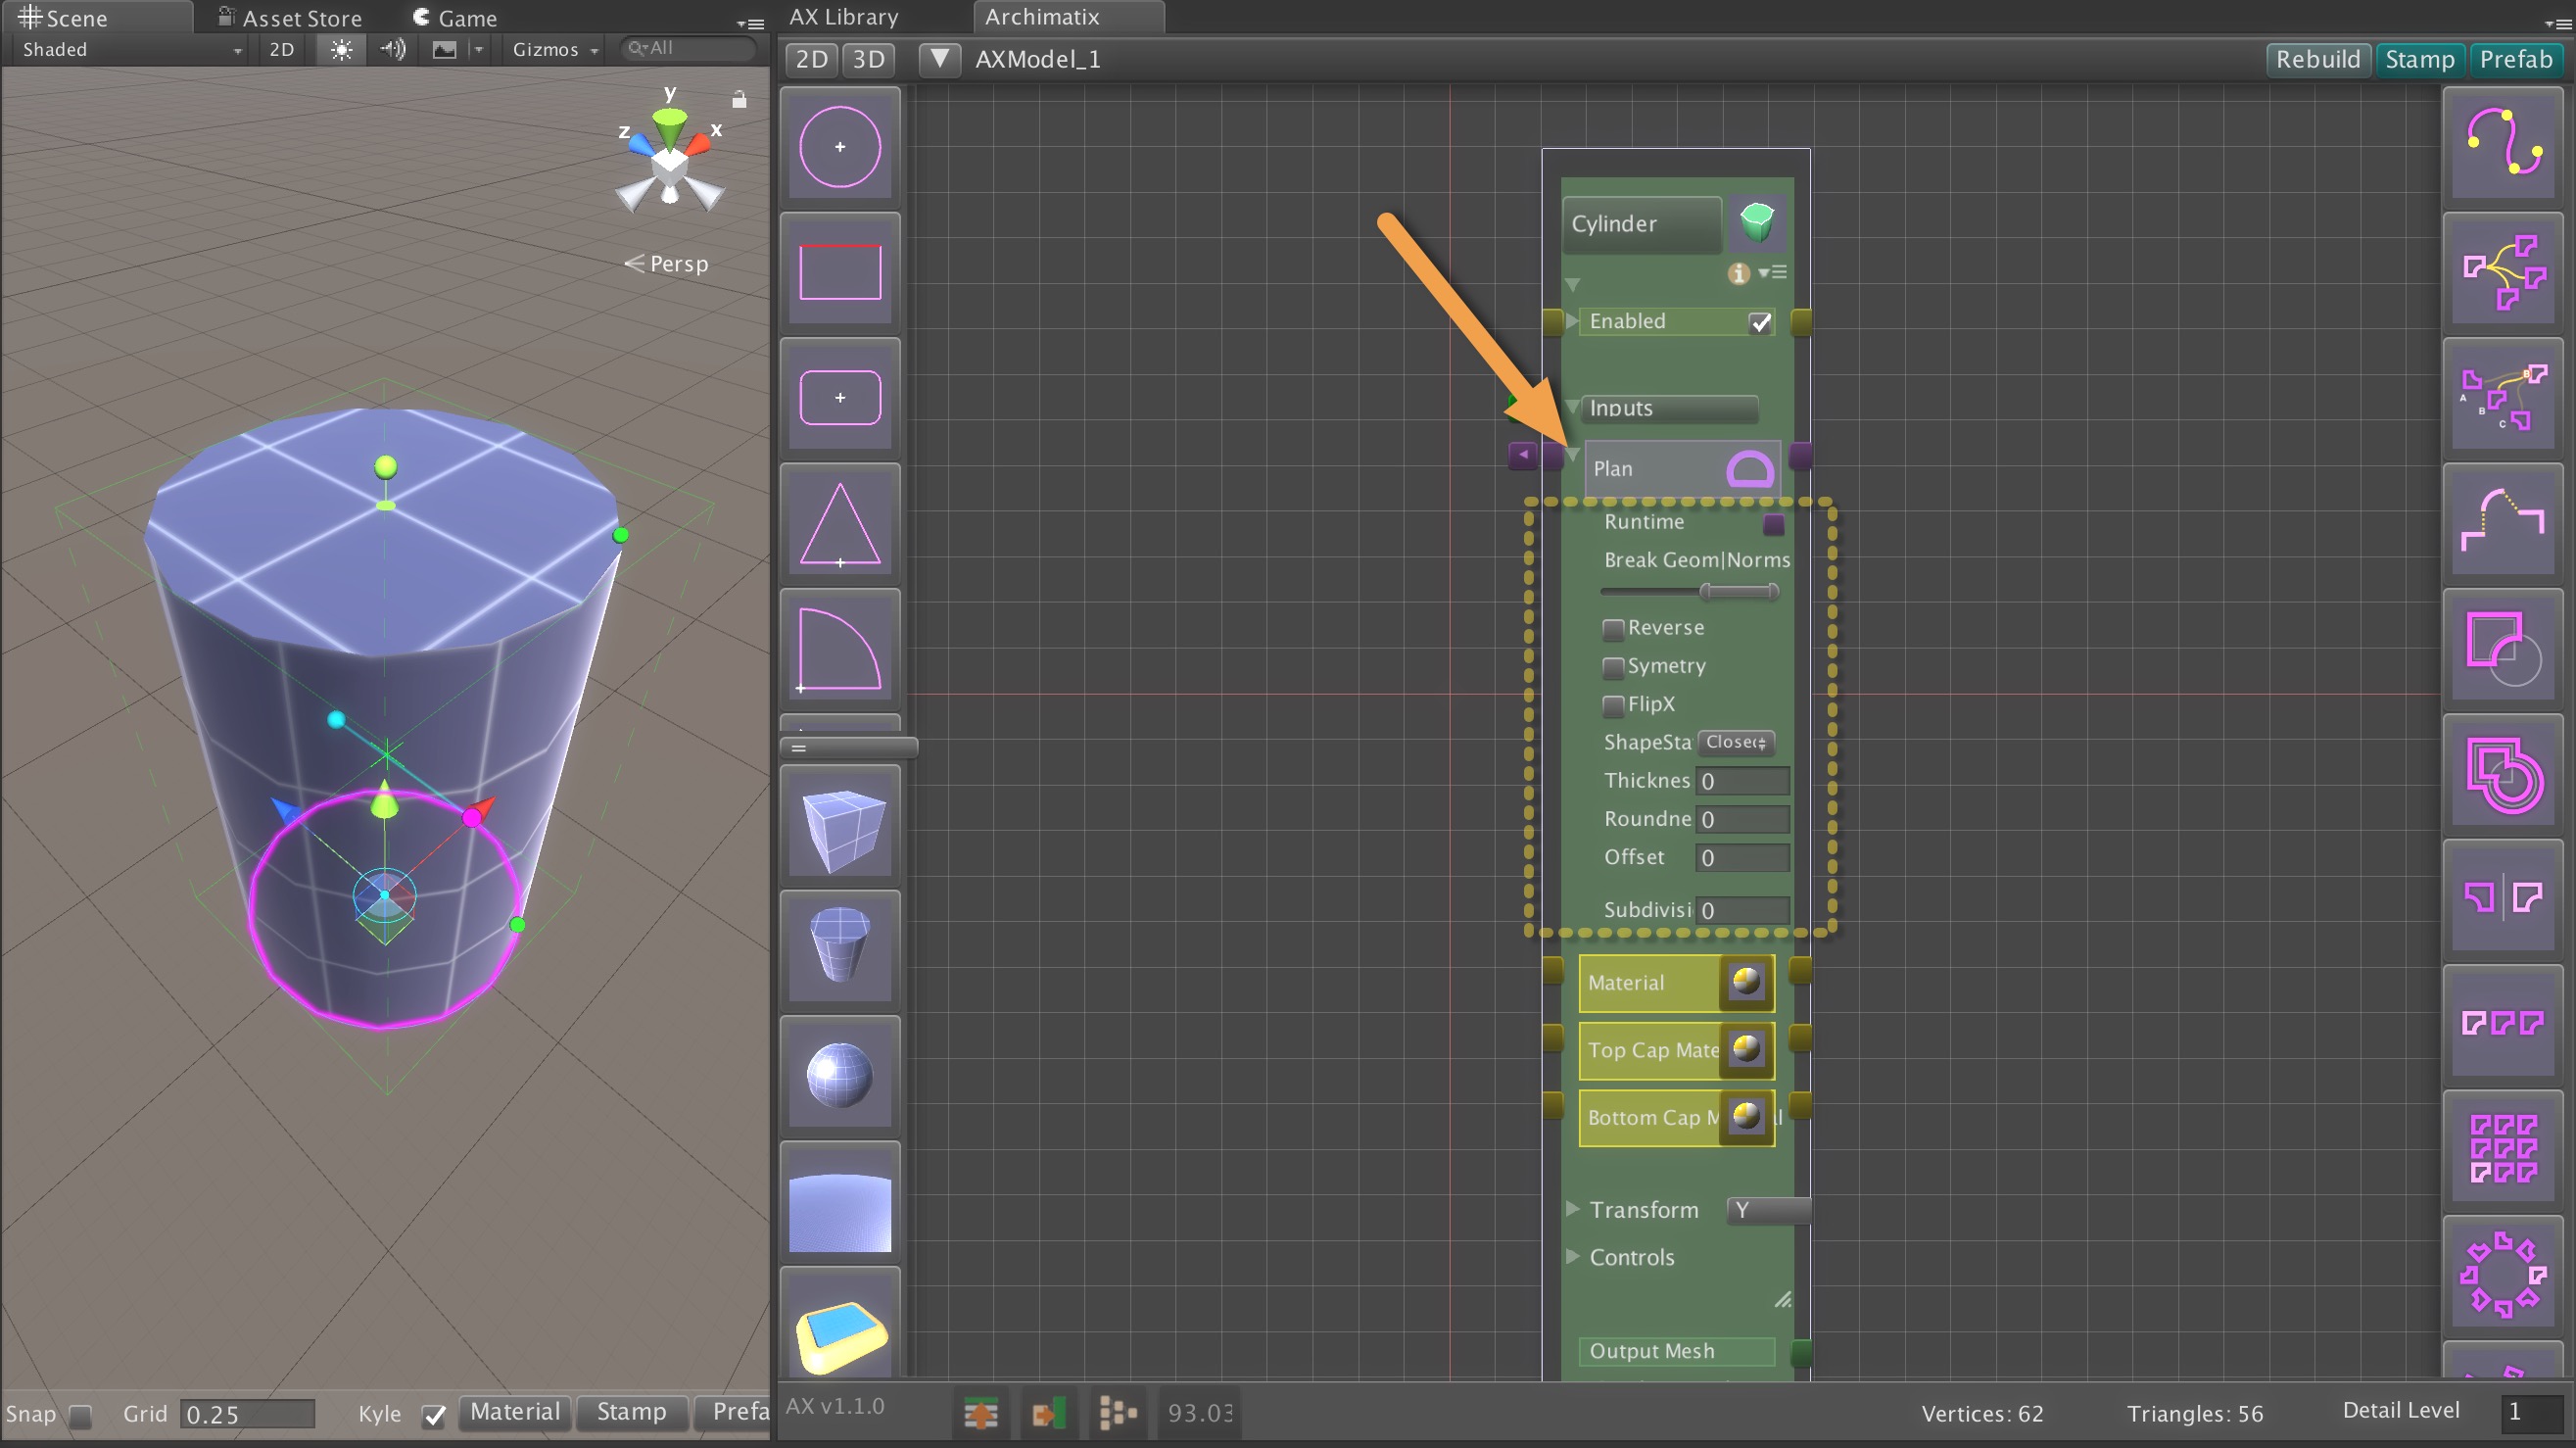
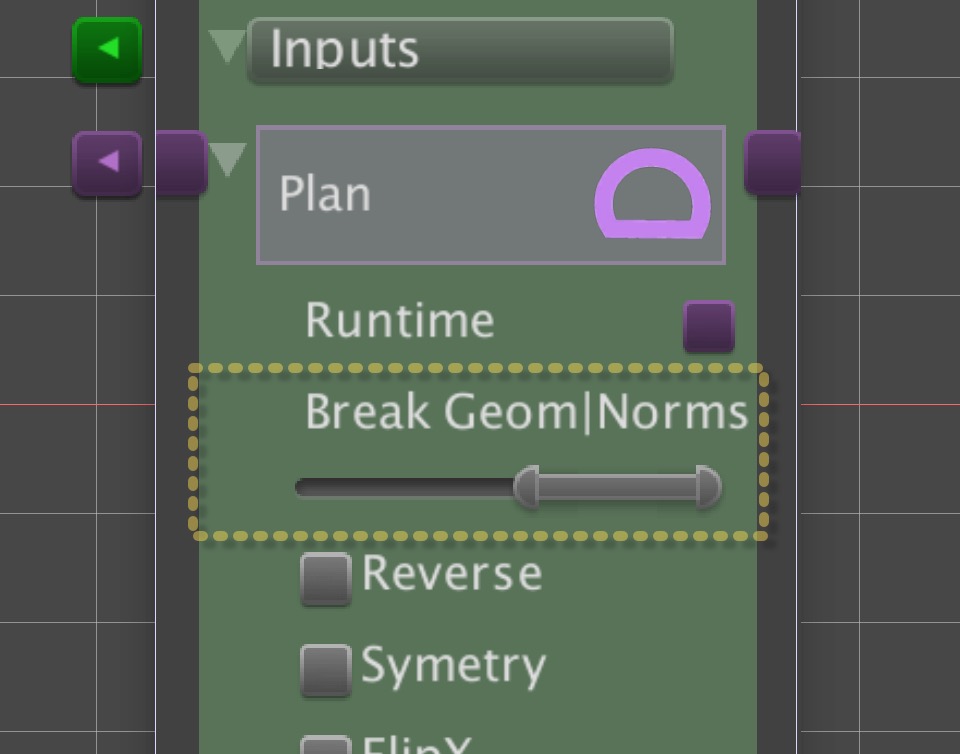
Looking at the Break Geom|Norms control, we see a MinMaxSlider, whose two knobs control the BreakGeomerty and the BreakNormal angles.
Break Geometry Angle
The left knob controls the BreakGeometryAngle, the angle at which the mesh will literally break the vertices so that they are not welded. This not only affects the UVs for texture placement, but it also also us to have separate normals for vertices on the mesh.
Break Normals Angle
The right knob controls the BreakNormalsAngle, the angle at which the normals will break the edge into a hard edge.
Step 4
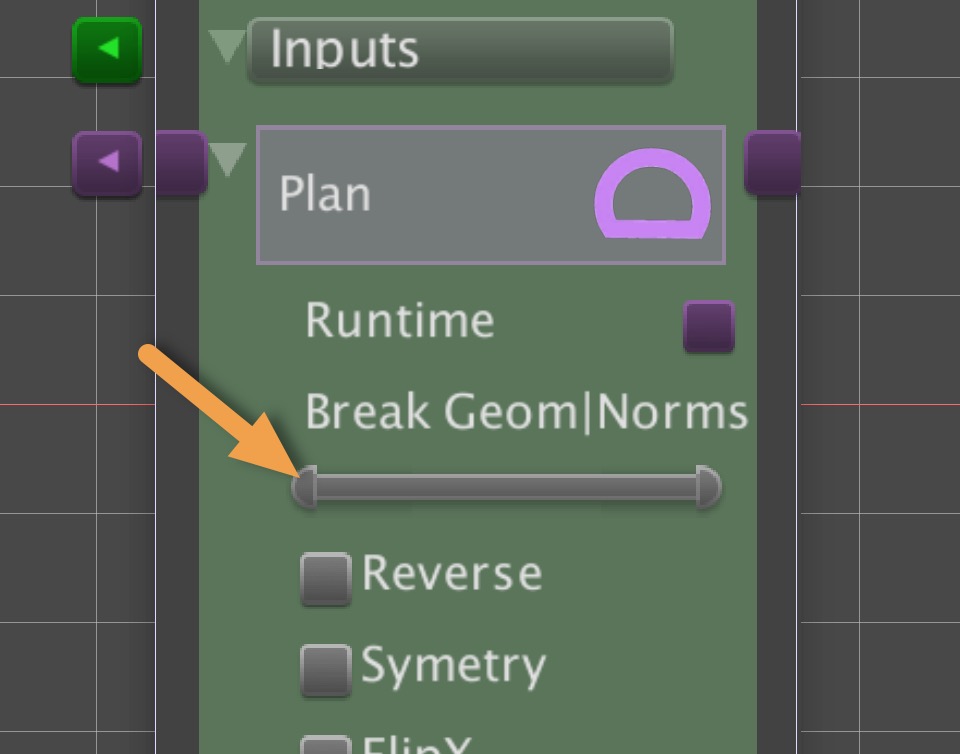 Slide the left knob to the far left, or 0. This will result break all the vertices in the mesh so that all faces have their own vertices. For this particular mesh, we should not notice any difference in the UV coordinates for texturing. However, the BreakNormalAngle can never be more than the BreakGeometryAngle, so this is a necessary step.
Step 5
 Now slide the right know all the way to the left, or to zero. Now every polygon will have its own normals perpendicular to it, leaving hard edges everywhere.
Leave a Reply
You must be logged in to post a comment.